This post is part of the Korean Apartment Homelab series.
Introduction
The moment I deleted the port forwarding rules from my UniFi gateway felt more significant than it probably should have. Two lines in a firewall configuration, ports 80 and 443, removed in seconds. But those two rules had been the front door to my entire homelab for months, and removing them meant the door no longer existed.
For as long as I ran Nginx Proxy Manager, my home IP address was exposed. Anyone who resolved my domain could see where my server lived. The firewall and NPM provided protection, but the fundamental problem remained: my router was directly reachable from the internet. Every security discussion about my setup eventually circled back to that fact.
Cloudflare Tunnel changes the model entirely. Instead of opening ports and waiting for connections to come in, a daemon on the server reaches out to Cloudflare. Traffic flows inbound through Cloudflare’s network, never touching the router directly. The result is that there are no inbound ports to open, no public IP to discover, and no port forwarding rules to maintain.
This post covers how I made that transition. The interesting parts are not the installation steps. They are the decisions about what to move, what to leave behind, and the mistakes that cost me more time than the actual migration.
The 100MB Question
Before touching any configuration, I had to decide which services should go through the tunnel. The instinct was to move everything. If the tunnel is more secure, why leave anything on the old setup?
The answer is a single number: 100MB.
Cloudflare’s free plan rejects any individual HTTP request with a body larger than 100MB. This is not a daily quota or a monthly bandwidth cap. It is a per-request limit. You can send ten thousand 50MB requests in a day without issue, but a single 101MB request will fail.
That distinction turned out to be the key to my entire migration strategy.
Jellyfin was the easiest decision. Video streaming means sustained large transfers, and users report buffering, range request errors, and random disconnections when pushing media through Cloudflare. The terms of service are also ambiguous about media streaming on the free tier. Jellyfin stays behind VPN without question.
Immich was similar. Photos are small, but a single iPhone video easily exceeds 100MB. Rather than dealing with unpredictable upload failures for some files but not others, I kept Immich behind VPN as well.
Nextcloud was where the decision got interesting. My initial reaction was that it could not work. People store large files on cloud storage. Large files exceed 100MB. Therefore Nextcloud cannot go through the tunnel.
But that logic misses how Nextcloud actually transfers files. The desktop and mobile clients use chunked uploads by default, splitting files into pieces well under 100MB each. A 1GB file becomes a hundred 10MB requests, each one comfortably within the limit. The server reassembles them on the other end. The only scenario where this breaks is uploading large files directly through the web browser interface, which does not always chunk reliably. For my usage pattern, where the desktop and mobile clients handle nearly everything, this was an acceptable trade-off.
Home Assistant and Vaultwarden were straightforward. Dashboard interactions, sensor readings, automation triggers, and password sync operations are all tiny requests. The 100MB limit is irrelevant for these services.
The final split:
- Cloudflare Tunnel: Home Assistant, Vaultwarden, Nextcloud
- VPN only: Jellyfin, Immich, Proxmox, Grafana, Homepage, AdGuard Home
The logic is simple. Services I check frequently throughout the day, where connecting to a VPN every time would add genuine friction, go through the tunnel. Administrative tools I access occasionally stay behind VPN, where they arguably belong anyway.
Using an Existing Domain
Cloudflare Tunnel requires a domain managed by Cloudflare’s nameservers. I briefly considered buying a separate domain for the homelab before realizing I already had one. My blog domain was purchased through Cloudflare Registrar, and creating subdomains for homelab services costs nothing extra.
There is a minor security consideration. Since the blog is public, someone could scan for subdomains and discover that services exist. But behind Cloudflare Tunnel, the actual server IP is hidden, and every service requires its own authentication. Discovery alone is not a meaningful risk.
The Setup: Shorter Than Expected, Harder Than It Should Be
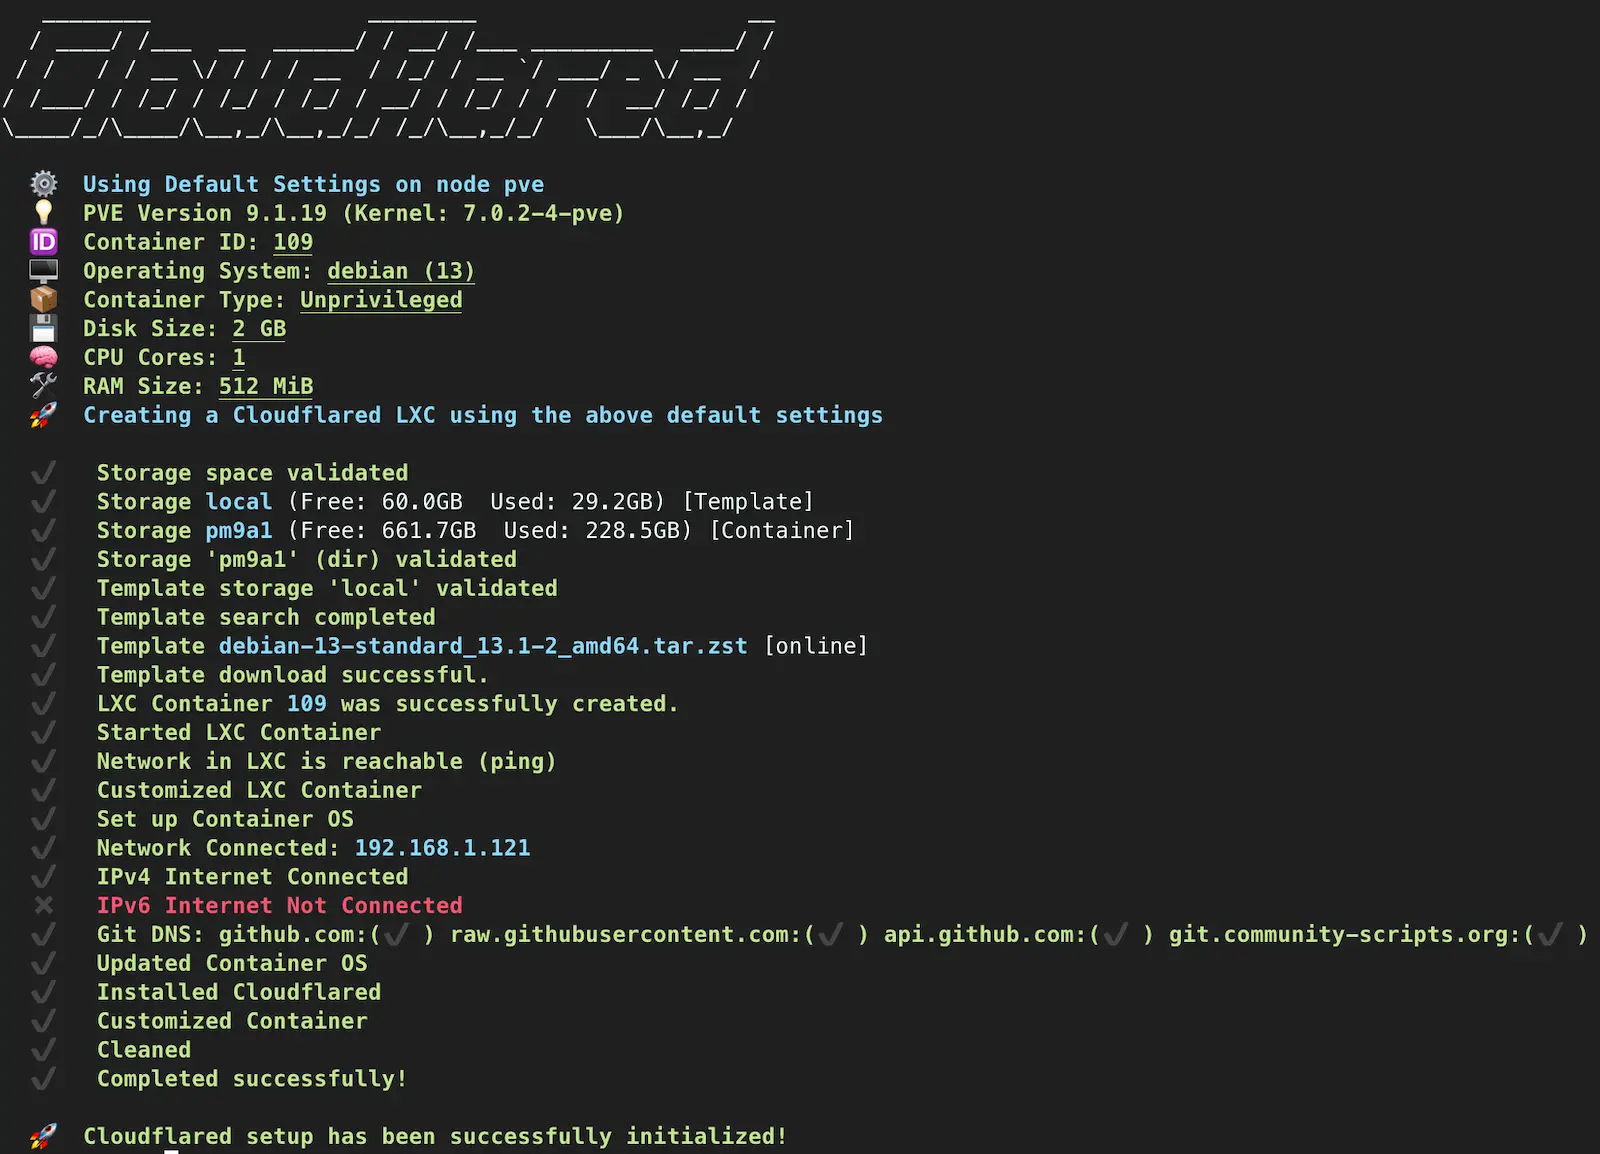
The actual installation took minutes. I created a Cloudflared LXC container on Proxmox using a community helper script, generated a tunnel token in the Cloudflare Zero Trust dashboard, and linked them together. The tunnel showed healthy almost immediately.
But every step between “tunnel is healthy” and “services actually work” involved at least one surprise.
The Script That Did Nothing
The first surprise came before the LXC even existed. I copied an installation command from a guide, pasted it into the Proxmox shell, pressed enter, and got nothing. No output, no error, no prompt. The shell just returned silently as if I had typed an empty line.
The problem was the URL. The command I copied pointed to a community scripts website URL rather than the raw script file on GitHub. The website returned HTML, which bash silently failed to execute. The correct command uses curl and references the raw GitHub URL:
bash -c "$(curl -fsSL https://raw.githubusercontent.com/community-scripts/ProxmoxVE/main/ct/cloudflared.sh)"This is exactly the kind of mistake that wastes thirty minutes while you question whether your Proxmox installation is broken, whether the script repository is down, or whether you somehow mistyped something invisible.
The Dashboard That Changed
With the LXC running and the tunnel connected, I went to add my first service. Every guide I had read said to find “Public Hostnames” in the tunnel configuration. I clicked through every tab and menu item. There was no Public Hostnames section anywhere.
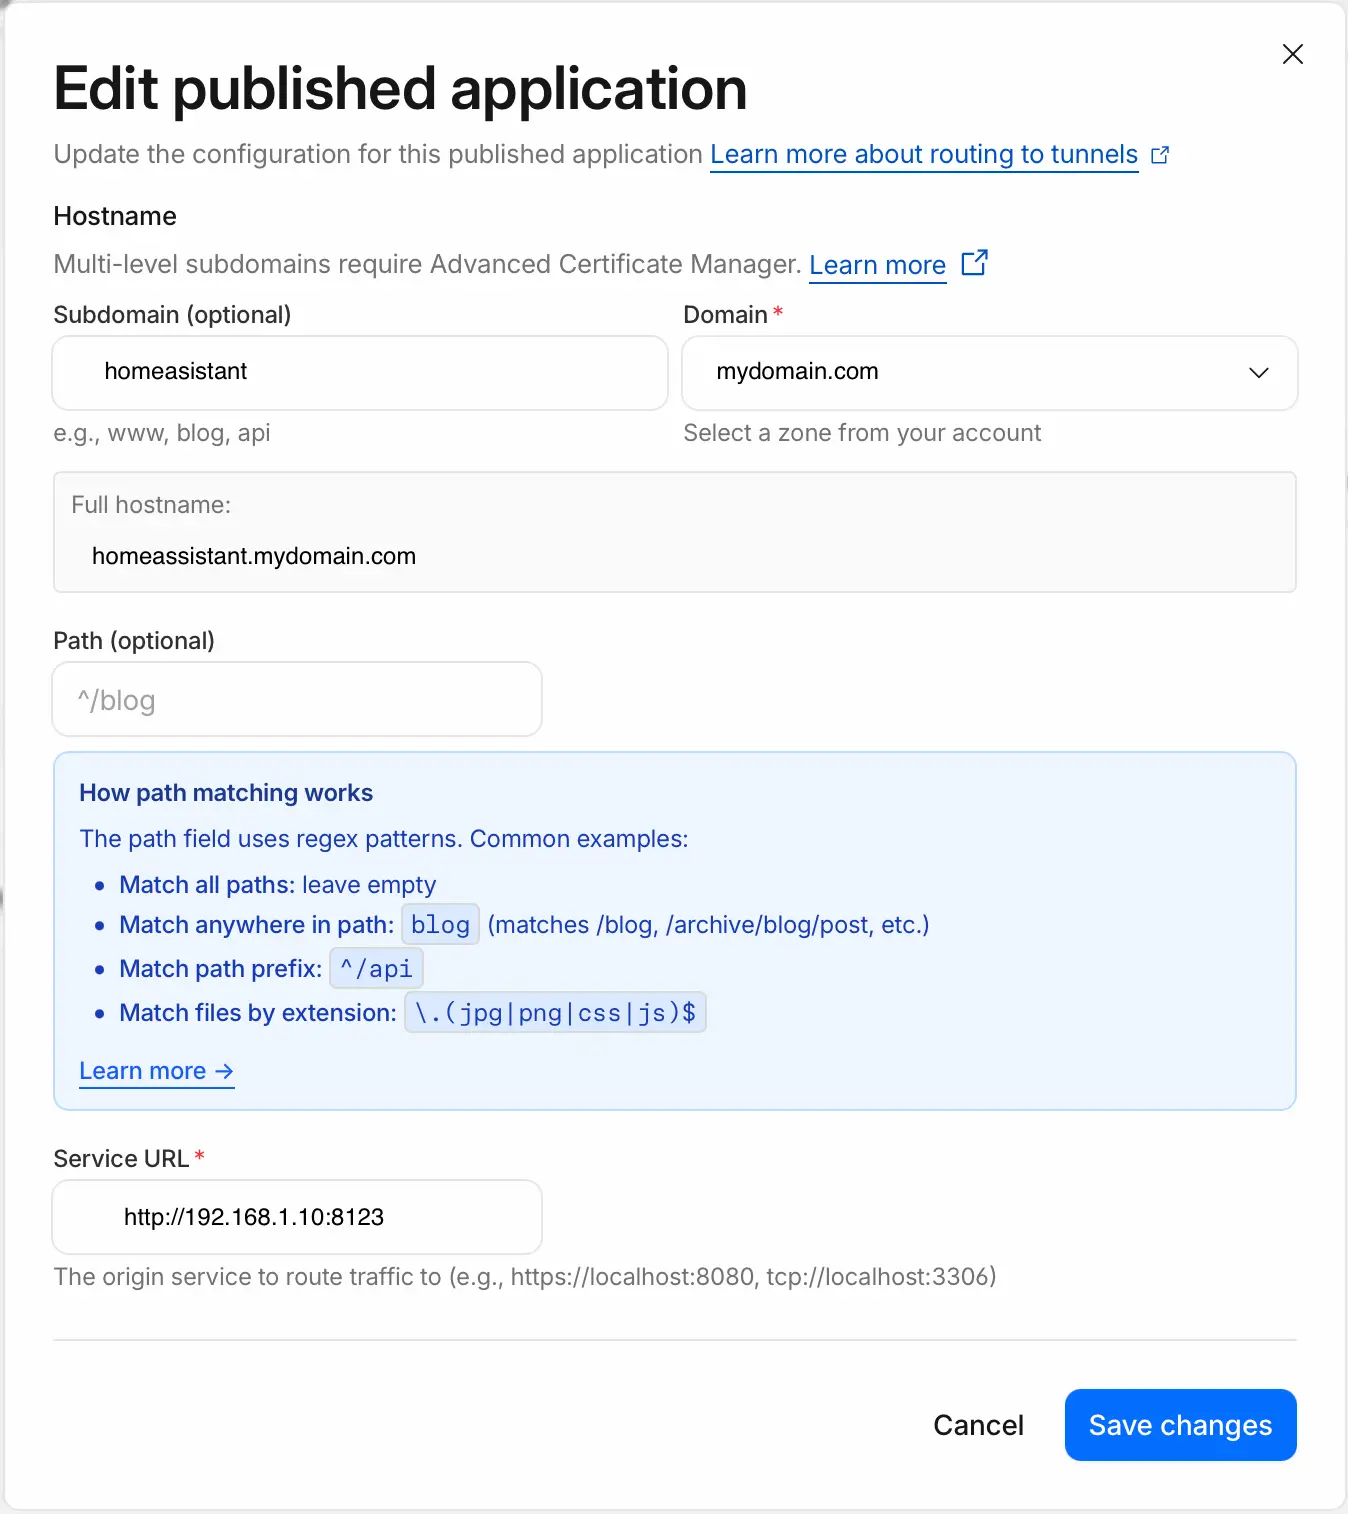
The Cloudflare Zero Trust dashboard has been reorganized. What used to be “Public Hostnames” is now found by clicking “Add route” inside the tunnel, then selecting “Published application.” Same feature, different name, different location. None of the guides I had read reflected this change.
Home Assistant and the Trust Problem
Home Assistant was the first service I added. I configured the route, saved it, opened the browser, and got a connection refused error.
The issue was immediately obvious once I knew where to look, but it took time to get there. By default, Home Assistant does not trust connections arriving from unfamiliar IP addresses. When traffic comes through Cloudflare Tunnel, the source IP is the Cloudflared LXC container, not the user’s real IP. Home Assistant sees an IP it does not recognize and blocks the request.
The fix is adding the Cloudflared container’s IP to trusted_proxies in Home Assistant’s configuration.yaml:
http:
  use_x_forwarded_for: true
  trusted_proxies:
    - <Cloudflared LXC IP>
If you are migrating from Nginx Proxy Manager, you probably already have a trusted_proxies entry for NPM’s IP. The Cloudflared container’s IP needs to be added alongside or in place of it.
Vaultwarden and the Invisible Typo
Vaultwarden was the most frustrating. After adding the route, the first access attempt returned an authentication error. I reloaded the page, and it changed to 502 Bad Gateway. Then it stayed on 502.
I checked the tunnel configuration, verified the service was running, and confirmed that curl from the Cloudflared container to Vaultwarden returned 200 OK. Everything looked correct. I re-examined the Cloudflare route settings line by line, and there it was: the port number was wrong.
I had definitely checked it before saving. Or at least I thought I had. But the port was wrong, and the moment I corrected it, Vaultwarden worked perfectly. There is no technical lesson here, just the humbling reminder that the most time-consuming bugs are often the most mundane.
One additional note for Vaultwarden: if you have a DOMAIN environment variable set anywhere, whether in docker-compose.yml, an .env file, or a config.json in the data directory, it needs to match your new tunnel domain. An old domain reference will cause authentication failures that look like a tunnel problem but are actually a Vaultwarden configuration problem.
Nextcloud: The Smoothest Migration
Nextcloud required changes to config.php for the new domain and proxy trust, but otherwise worked on the first attempt:
'trusted_domains' => array(
    0 => '<internal IP>',
    1 => 'cloud.yourdomain.com',
),
'trusted_proxies' => array(
    0 => '<Cloudflared LXC IP>',
),
'overwriteprotocol' => 'https',
'overwrite.cli.url' => 'https://cloud.yourdomain.com',
File sync through the desktop client, including files larger than 100MB, worked immediately. The chunked upload approach that I was initially skeptical about turned out to be completely transparent. Files just sync, regardless of size.
Closing the Door
With all three services confirmed working, I went to the UniFi gateway and deleted the port forwarding rules.
It is worth pausing on what this actually changes. Before the migration, the path from the internet to my services looked like this: external request hits my public IP, router forwards ports 80 and 443 to NPM, NPM routes to the correct service. My router was the first thing any external request touched.
After the migration: external request hits Cloudflare’s network, Cloudflare routes it through the tunnel, the Cloudflared daemon on my server forwards it to the correct service. My router is not involved at all. There are no open ports, no public IP exposure, and no direct path from the internet to my home network.
For anyone in Korea worried about their ISP eventually assigning them behind Carrier-Grade NAT, this also solves that problem permanently. The tunnel is an outbound connection from the server to Cloudflare. It does not matter whether the router has a real public IP or not.
Split DNS: The Final Optimization
Without additional configuration, devices inside my apartment would access Home Assistant by going out to Cloudflare and coming back through the tunnel. My phone, sitting on the same network as the server, would route through Cloudflare’s data center and back. That unnecessary round trip adds latency and serves no purpose.
Since I already run AdGuard Home as a local DNS resolver, the fix was simple. DNS rewrite rules point each subdomain directly to the corresponding internal IP when resolved from inside my network. Outside the apartment, the same subdomains resolve to Cloudflare normally.
The result is seamless. I never think about whether I am at home or away. The same URLs work everywhere, but the path the traffic takes adapts automatically. As a bonus, Nextcloud’s 100MB per-request limit does not apply when I am uploading from home, because the traffic never passes through Cloudflare.
Before and After
Before:
- Ports 80 and 443 forwarded through the router
- Home IP exposed through DNS resolution
- NPM as the single line of defense
- All external traffic hitting the router directly
After:
- Zero inbound ports open
- Home IP hidden behind Cloudflare’s network
- DDoS protection and WAF as additional layers
- Immune to ISP CGNAT changes
- Administrative services accessible only through VPN
Lessons Learned
Understand the limit before you decide what to move. The 100MB per-request limit sounds like a dealbreaker until you understand what it actually means. Per-request, not per-day. Chunked uploads bypass it entirely. That understanding changed Nextcloud from “impossible” to “works fine.” Take the time to understand how your services actually transfer data before ruling them out.
Not everything belongs behind the tunnel. A hybrid setup, tunnel for frequent-access services and VPN for everything else, ended up being more secure than either approach alone. Services that do not need external access have no business being externally accessible, regardless of how secure the tunnel is.
Migrate one service at a time. Adding Home Assistant first meant I could isolate the trusted_proxies issue immediately. If I had added all three services at once, I would have spent much longer figuring out which one was misconfigured.
Keep the old setup running during migration. I did not delete the port forwarding rules until every service was confirmed working through the tunnel. Having a fallback meant each step was low-risk.
The Cloudflare dashboard changes. If a guide tells you to click something that does not exist, the UI probably changed. “Public Hostnames” became “Published application” under “Add route.” This will probably change again.
The most frustrating bugs are typos. The Vaultwarden port issue was not a conceptual problem or a misconfiguration. It was a wrong number that I was certain I had entered correctly. If something is not working and the configuration looks right, check the most obvious things one more time. Then check them again.
What’s Next
Cloudflare Tunnel opens the door to Cloudflare Access, which adds an authentication layer before traffic even reaches the service. An email verification step before the Home Assistant login page, for example. Whether that is worth the added friction for services that already have authentication is something I want to evaluate.
Nginx Proxy Manager is still running, but its role has shrunk significantly. The services that depended on it for external access now go through Cloudflare directly. I need to decide whether NPM still earns its place for internal SSL management or whether it is time to simplify.
Each step in this homelab has followed the same pattern. Start with the simplest thing that works, live with it long enough to feel its limitations, then move to something better while keeping what still makes sense. Port forwarding was the right starting point. It taught me how reverse proxying works, what services need external access, and why exposing a home IP is uncomfortable. Cloudflare Tunnel is the right next step. It solves the problems I actually experienced rather than theoretical ones.
The homelab keeps growing, one layer at a time.